< Build your first web app with DAF >
Intro
Purpose
Build your first web app with DAF.
Prerequisites
php v8.0 <-> v8.2 and set as environment variable.
Time to Complete
15-20 minutes + download/installation time.
Scenario
Create, use, and modify a
- NiceMsg Component
- Navbar Component
- About Page/Component
- Global Using
Download & Install
To start building DAF apps, download daf SDK zip.
After downloading, extract the zip file and add
the daf app to the environment variables.
Check everything installed correctly
Once you've installed, open a new terminal
and run the following command:
daf --version
If the installation succeeded,
you should see version 1.0.0 or higher outputted:
1.0.0
If everything looks good, select the Continue button
below to go to the next step.
Create your app
- Open a new folder named
"HelloWorldApp"where you like. - Open terminal in the folder, run the following command to create your app:
daf new cleanwebapp
This command creates your new DAF Web App project and places it inside
your current location. also
use the folder name as the project name
daf new: create project, cleanwebapp: defines the project template.template options: [ webapi , webapp, cleanwebapp ]
Take a quick look at the contents of the directory.
Mac
ls
Win
dir
Several files were created in the directory, to give you a simple DAF app that
is ready to run.
- index.php is the entry point for the app that starts the server and where
you configure the app services, routes and middlewares. - HelloWorldApp will store the project necessary files.
- ApplicationEx main app class that extends
DafCore\Application. - The Views directory contains some example web page and basic
components for the app.
- ApplicationEx main app class that extends
- public directory: contains all the public assets for your project.
- vendor directory: contains all the dependencies for your project.
use it later in the tutorial.
If everything looks good, select the Continue button
below to go to the next step.
Run your app
In your terminal, run the following command:
daf watch
The daf watch command will start the app, and then update the app
whenever you make code changes. You
can stop the app at
any time by selecting Ctrl+C.
Wait for the app to display that it's listening on http://localhost:{port number}
and for the browser
to launch at that address.
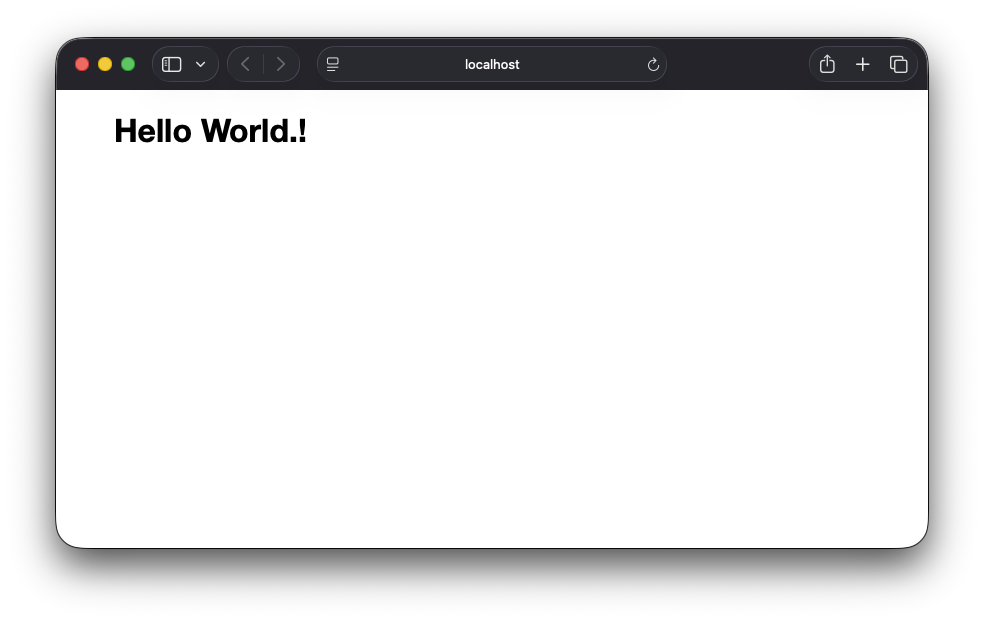
Once you get to the following page,
you have successfully run your first DAF app.!
The displayed page is defined by the index.php file located inside
the root directory. This is what its contents look like:
<?php

namespace HelloWorldApp;

require_once 'vendor/autoloader.php';


use HelloWorldApp\Views\Pages as Pages;


$app = new ApplicationEx();


$app->Router->Get("/" , Pages\Home\HomePage::class);


$app->Run();
It already contains the code that sets the home page and displays
the text
"Hello world.!".
The displayed page is defined by this line in the index.php file.
for request with GET method with path / ,
it will render the
{App Name}/Views/Pages/Home/HomePage.php Component.
// minimal load

$app->Router->Get("/" , Pages\Home\HomePage::class);


// or minimal load with endpoint before render

$app->Router->Get("/" , function(IViewManager $vm) {

    return $vm->RenderView(Pages\Home\HomePage::class);

});


// or load by register a controller.
If everything looks good, select the Continue button
below to go to the next step.
Create NiceMsg Component
In your terminal, run the following command:
daf generate component Components/NiceMsg
The command will create 2 files [ class, view ] located in:
{App Name}/Views/Components/NiceMsg.php.

                    {App Name}/Views/Components/NiceMsg.view.php.
it will generate file base template at provided location.
daf generate {type} {path} [options]
Types:
- model | m
- class | cl
- controller | c
- api-controller | ac
- component | comp
- view-component | vc
- dbset | ds -m|--model {Model Name}
Here is the file content that generated for:
{App Name}/Views/Components/NiceMsg.php.
<?php

namespace HelloWorldApp\Views\Components;

use \DafCore\Component;


class NiceMsg extends Component { }
Here is the file content that generated for:
{App Name}/Views/Components/NiceMsg.view.php.
<h1>NiceMsg Component.</h1>
Now edit the content of {App Name}/Views/Components/NiceMsg.php. to:
<?php

namespace HelloWorldApp\Views\Components;

use \DafCore\Component;


class NiceMsg extends Component {

    public string $Message;

}
the public string $Message property make the component to
require the
$Message Parameter.
Now edit the content of {App Name}/Views/Components/NiceMsg.view.php. to:
<div class="alert alert-success">

    <?=$this->Message?>

</div>
after we add public properies or function for the component class,
we can use them inside the component view.
If everything looks good, select the Continue button
below to go to the next step.
Add NiceMsg to HomePage Component
Update Home Component file located in:
{App Name}/Views/Pages/Home/HomePage.php to the following code.
<?php use HelloWorldApp\Views\Components; ?>
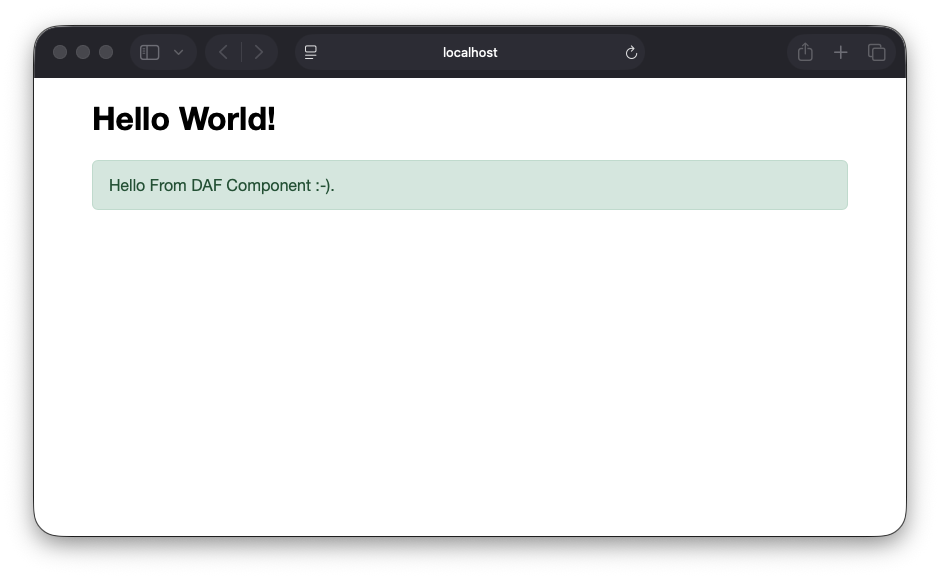
<h1>Hello World.!</h1>
<NiceMsg Message="Hello From DAF Component :-)." />
the use keyword adds the namespace to the components namespaces.
Make sure the file is saved.!!!
This the content you need to see.
If everything looks good, select the Continue button
below to go to the next step.
Create About Component
In your terminal, run the following command:
daf generate component Pages/About/AboutPage
The command will create 2 files [ class, view ] located in:
{App Name}/Views/Pages/About/AboutPage.php.

                    {App Name}/Views/Pages/About/AboutPage.view.php.
Here is the file content that generated for:
{App Name}/Views/Pages/About/AboutPage.php.
<?php

namespace HelloWorldApp\Views\Pages\About;

use \DafCore\Component;


class AboutPage extends Component { }
Here is the file content that generated for:
{App Name}/Views/Pages/About/AboutPage.view.php.
<h1>AboutPage Component.</h1>
If everything looks good, select the Continue button
below to go to the next step.
Add Route
Open the main index.php file and
add the following code before $app->Run();
line.
$app->Router->Get("/About" , Pages\About\AboutPage::class);
Or
// minimal load

$app->Router->Get("/About" , Pages\About\AboutPage::class);


// or minimal load with endpoint before render

$app->Router->Get("/About" , function(IViewManager $vm) {

    return $vm->RenderView(Pages\About\AboutPage::class);

});


// or load by register a controller.
Make sure the file is saved.!!!
Now manually navigate to /About to see the About page.

If everything looks good, select the Continue button
below to go to the next step.
Create ,Add Navbar Component
In your terminal, run the following command:
daf generate view-component _Layouts/Navbar
it will generate view component file at provided location.
view component file widthout class component file is a standalone component.
The command will create a new view component file located in:
{App Name}/Views/_Layouts/Navbar.view.php.
Edit the file content that generated to this new content:
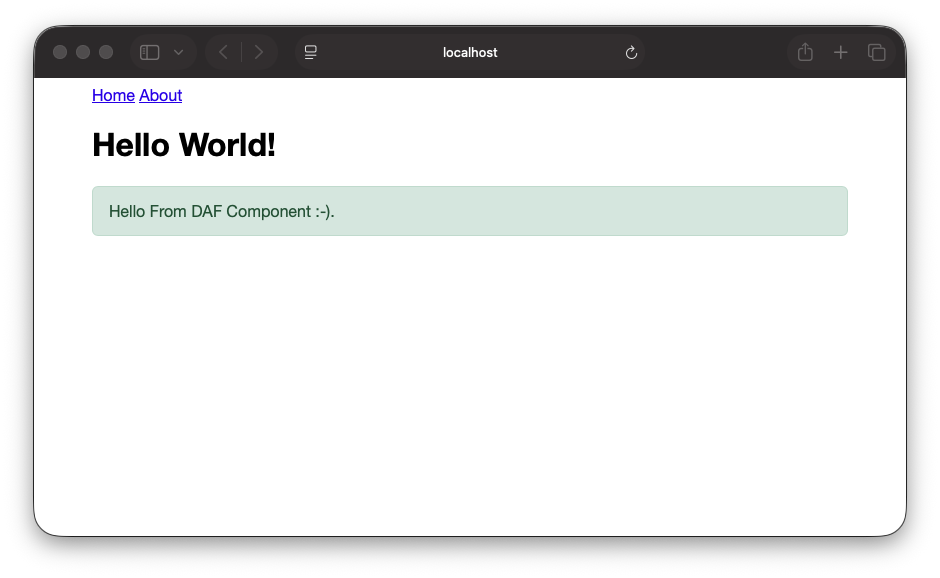
<nav>

    <a href="/">Home</a>

    <a href="/About">About</a>

</nav>
Make sure the file is saved.!!!
Update MainLayout Component file located in:
{App Name}/Views/_Layouts/MainLayout.php to the following code.
<?php use HelloWorld\Views\_Layouts; ?>


<main>

    <Navbar />

    <PageView />

</main>
Make sure the file is saved.!!!
Now manually navigate to / to see the Home page.
This the content you need to see.
If everything looks good, select the Continue button
below to go to the next step.
Global Using
One file to add usage for certain components that
need to be available in all your view components.
In your terminal, run the following command:
daf generate view-component _Imports
The command will create a new view component file located in:
{App Name}/Views/_Imports.php.
Update _Imports Component, and add the following line:
right after the _Layouts import.
use HelloWorldApp\Views\Components;
The _Imports Component content need to look like this.
<?php

use HelloWorldApp\Views\_Layouts;

use HelloWorldApp\Views\Components;


use Phar\vendor\DafCore\Components as DafComponents;

use Phar\vendor\DafCore\Components\Routing;


//use Phar\vendor\DafCore\Components\Forms;

//use Phar\vendor\DafCore\Components\Forms\Inputs;
Update MainLayout Component content to the following code.
<main>

    <Navbar />

    <PageView />

</main>
Update Home Component content to the following code.
<h1>Hello World.!</h1>


<NiceMsg Message="Hello From DAF Component :-)." />
If everything looks good, select the Continue button
below to go to the next step.
Summary
Congratulations! You have successfully created your first DAF app.
In this tutorial, you have learned how to:
- Install DAF
- Create a new app
- Create, Add and Use Components
- Create, Add Minimal Routes
- Global Using
- Hot Reload -
daf watch - Run the app